
CNAME Mapping
CNAME mapping lets a tenant connect their own domain to the subdomain created by the platform, for professional branding. When a tenant signs up, a default subdomain such as username.rootdomain.com is created; with CNAME, their real domain can be pointed at it. No extra plugins are needed.
What you'll learn
- How to point a tenant's real domain at their store
- How the super admin records the domain against the tenant
- How to confirm the mapping works
Step 1 — Log in to the DNS console
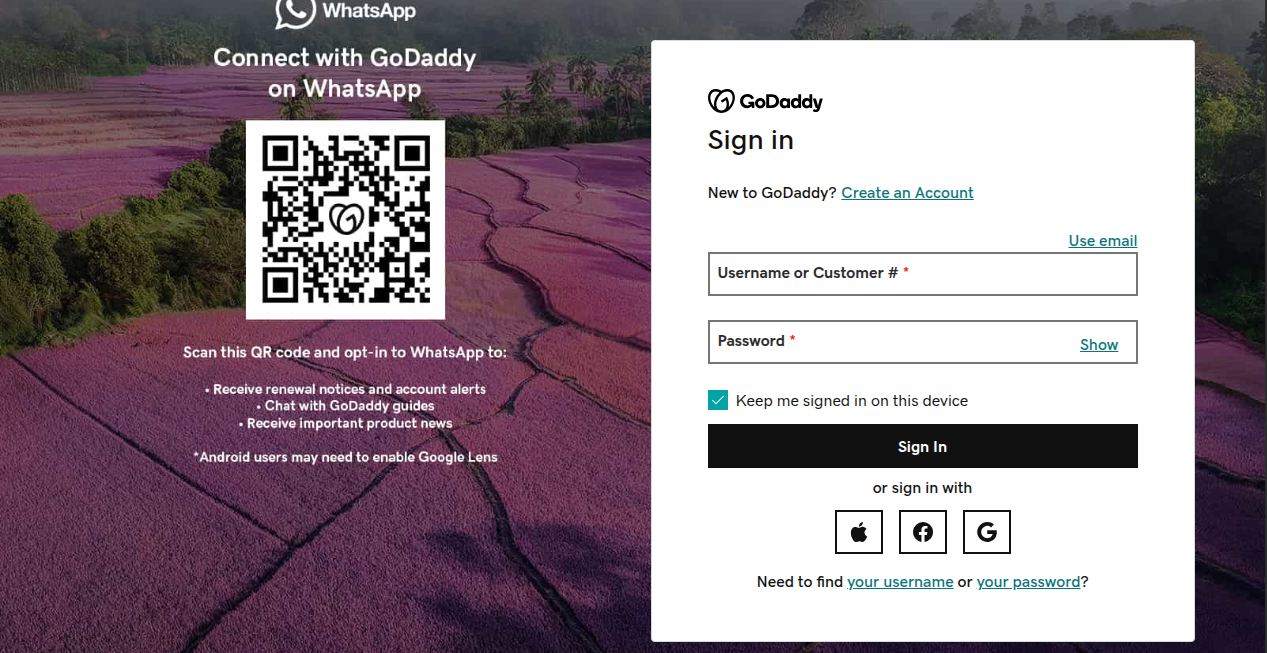
Log in to the tenant's DNS provider (such as GoDaddy) and open the settings for the domain to map.
Step 2 — Add a DNS record
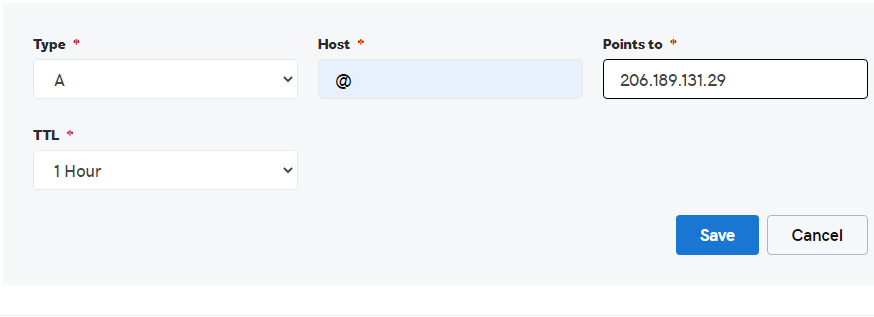
Add an A record for the domain that points to the platform server's IP address. For example, to map myshopdemo.com to a server at 206.189.131.29, add an A record as shown.
Step 3 — Record the domain in the platform
Sign in as Super Admin and go to Tenants → Tenants, where the tenant's subdomain is already created.
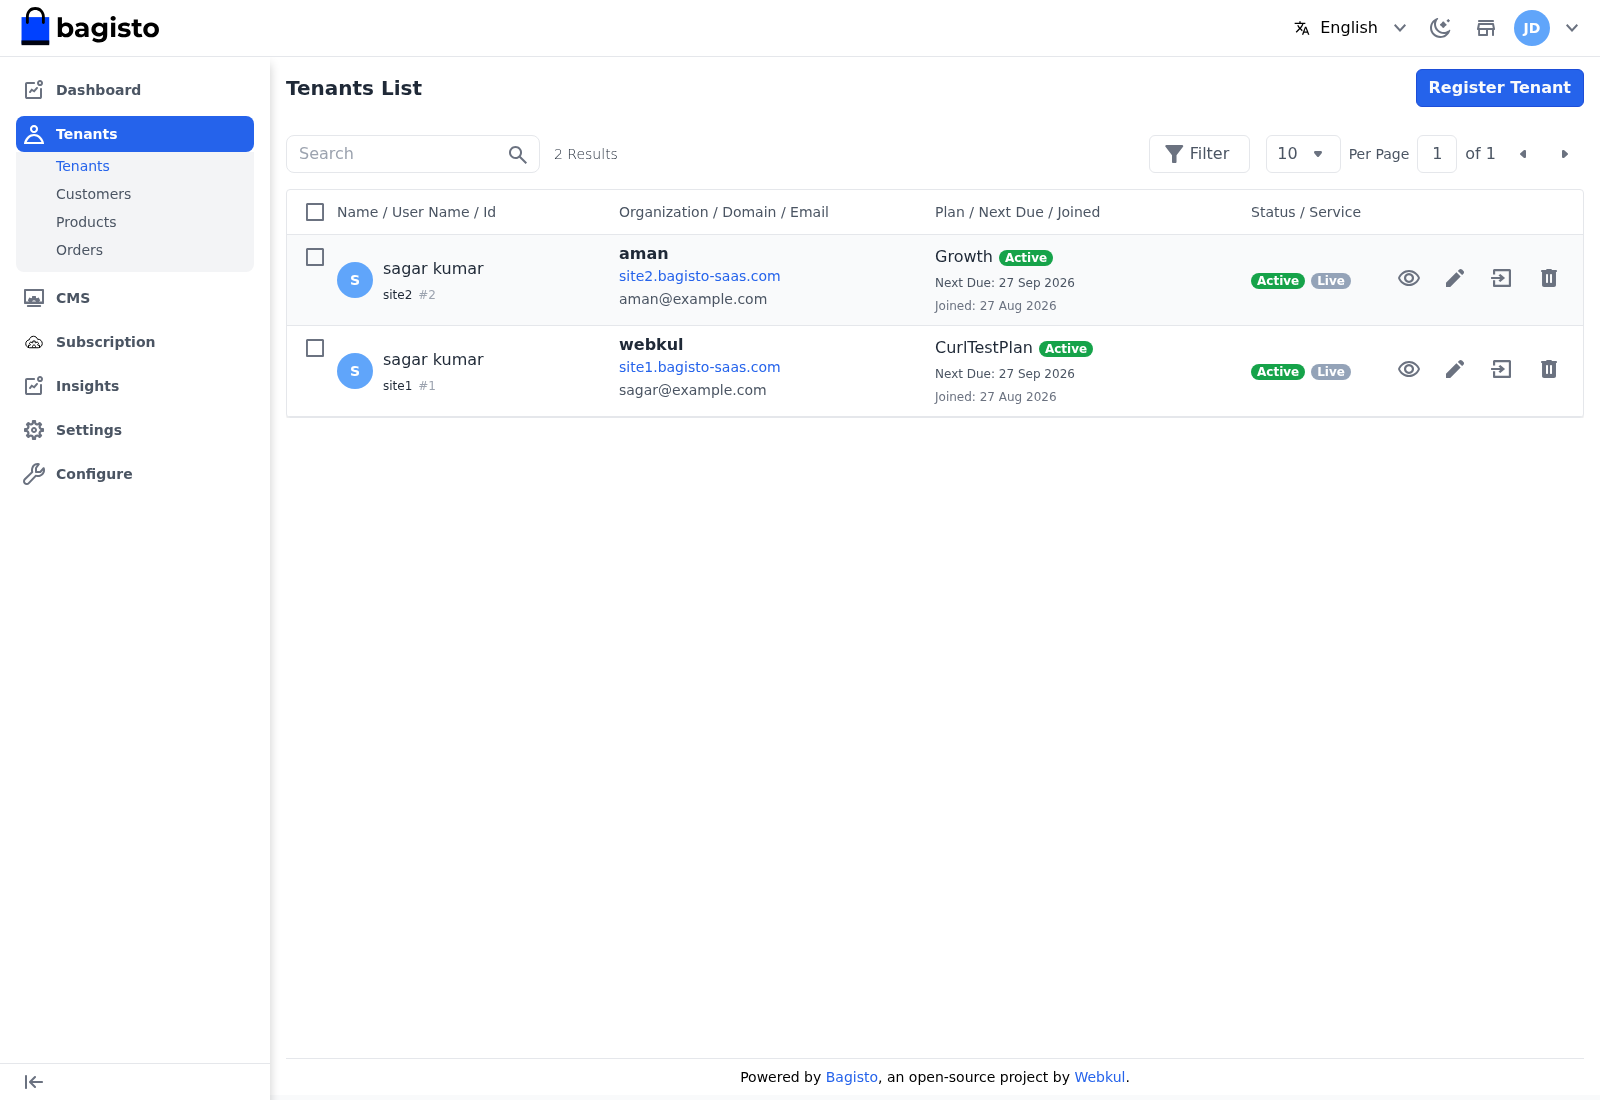
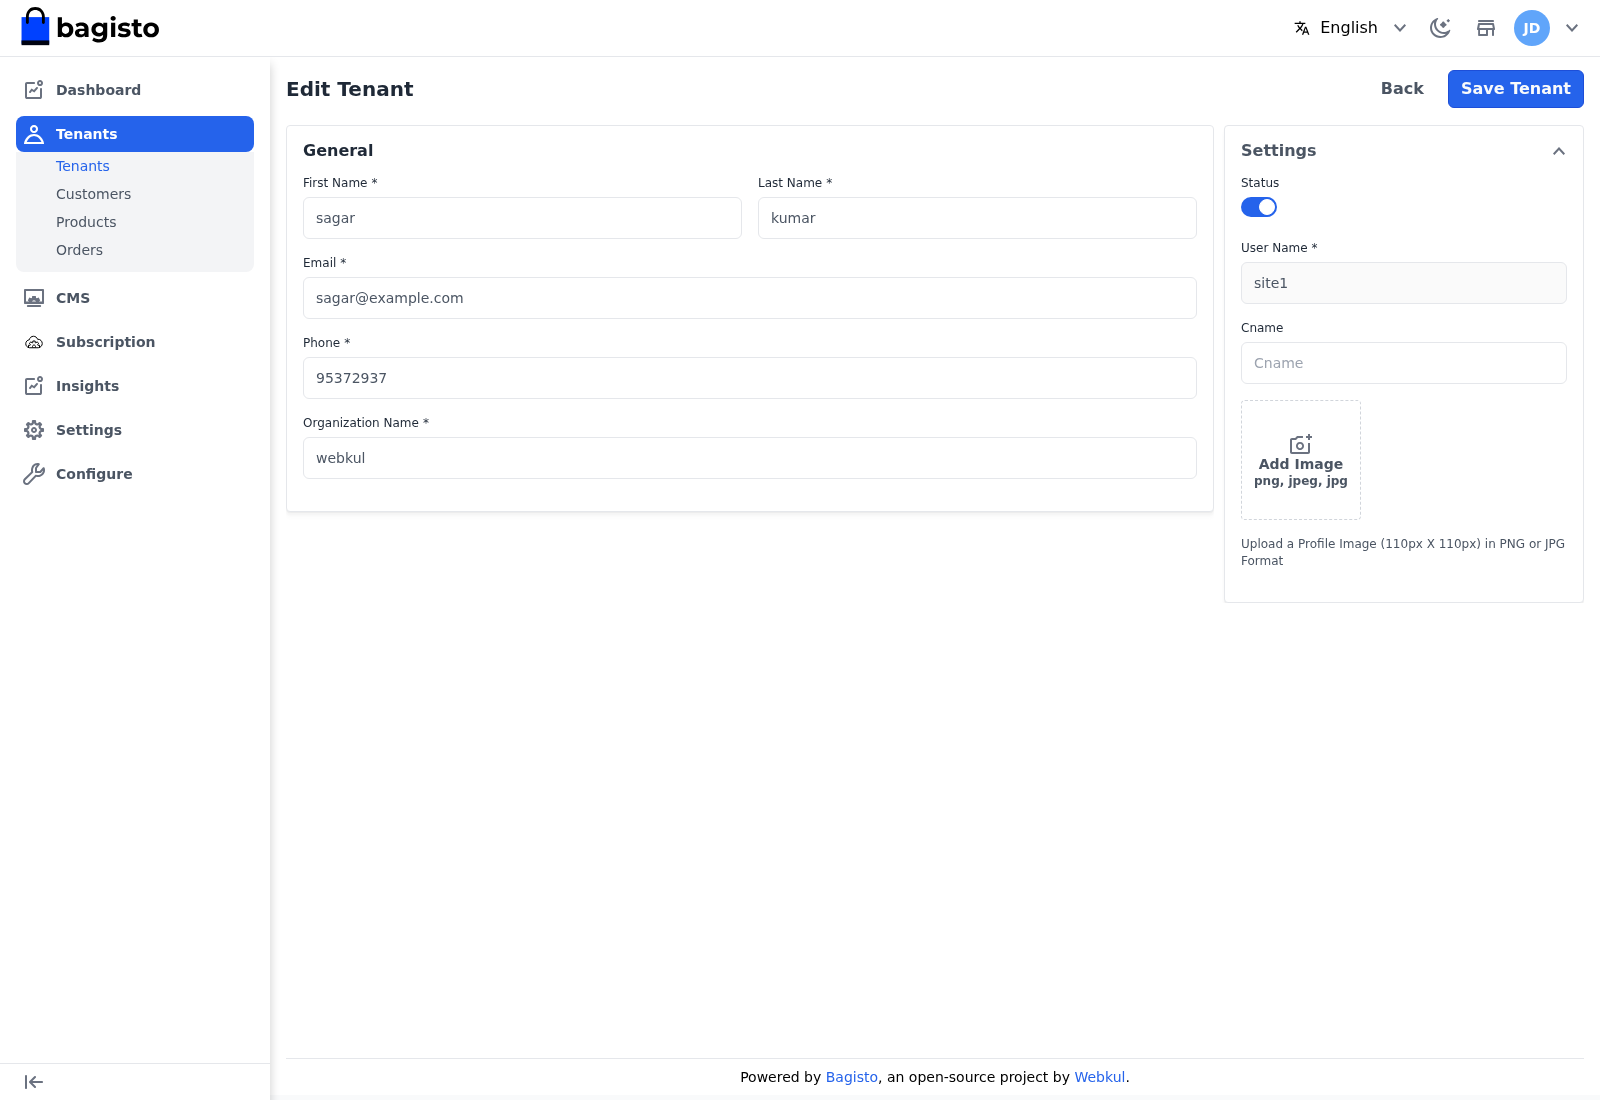
Click the Edit (pencil) icon, enter the real domain in the Cname field under Settings, and select Save Tenant.
Step 4 — Test the domain
Open the tenant's website in a browser and check that it loads.

If the store loads on the tenant's own domain, the mapping worked.
TIP
DNS changes can take time to propagate. If the domain doesn't resolve right away, wait for the record to take effect before assuming something is wrong.