
Registration & Sign-in
Before a merchant can sell, they join the platform and get in. Registration takes three short steps, after which the storefront and admin panel are provisioned automatically.
What you'll learn
- How a merchant registers a store in three steps
- How the store is provisioned
- How an existing merchant signs in
Registering a store
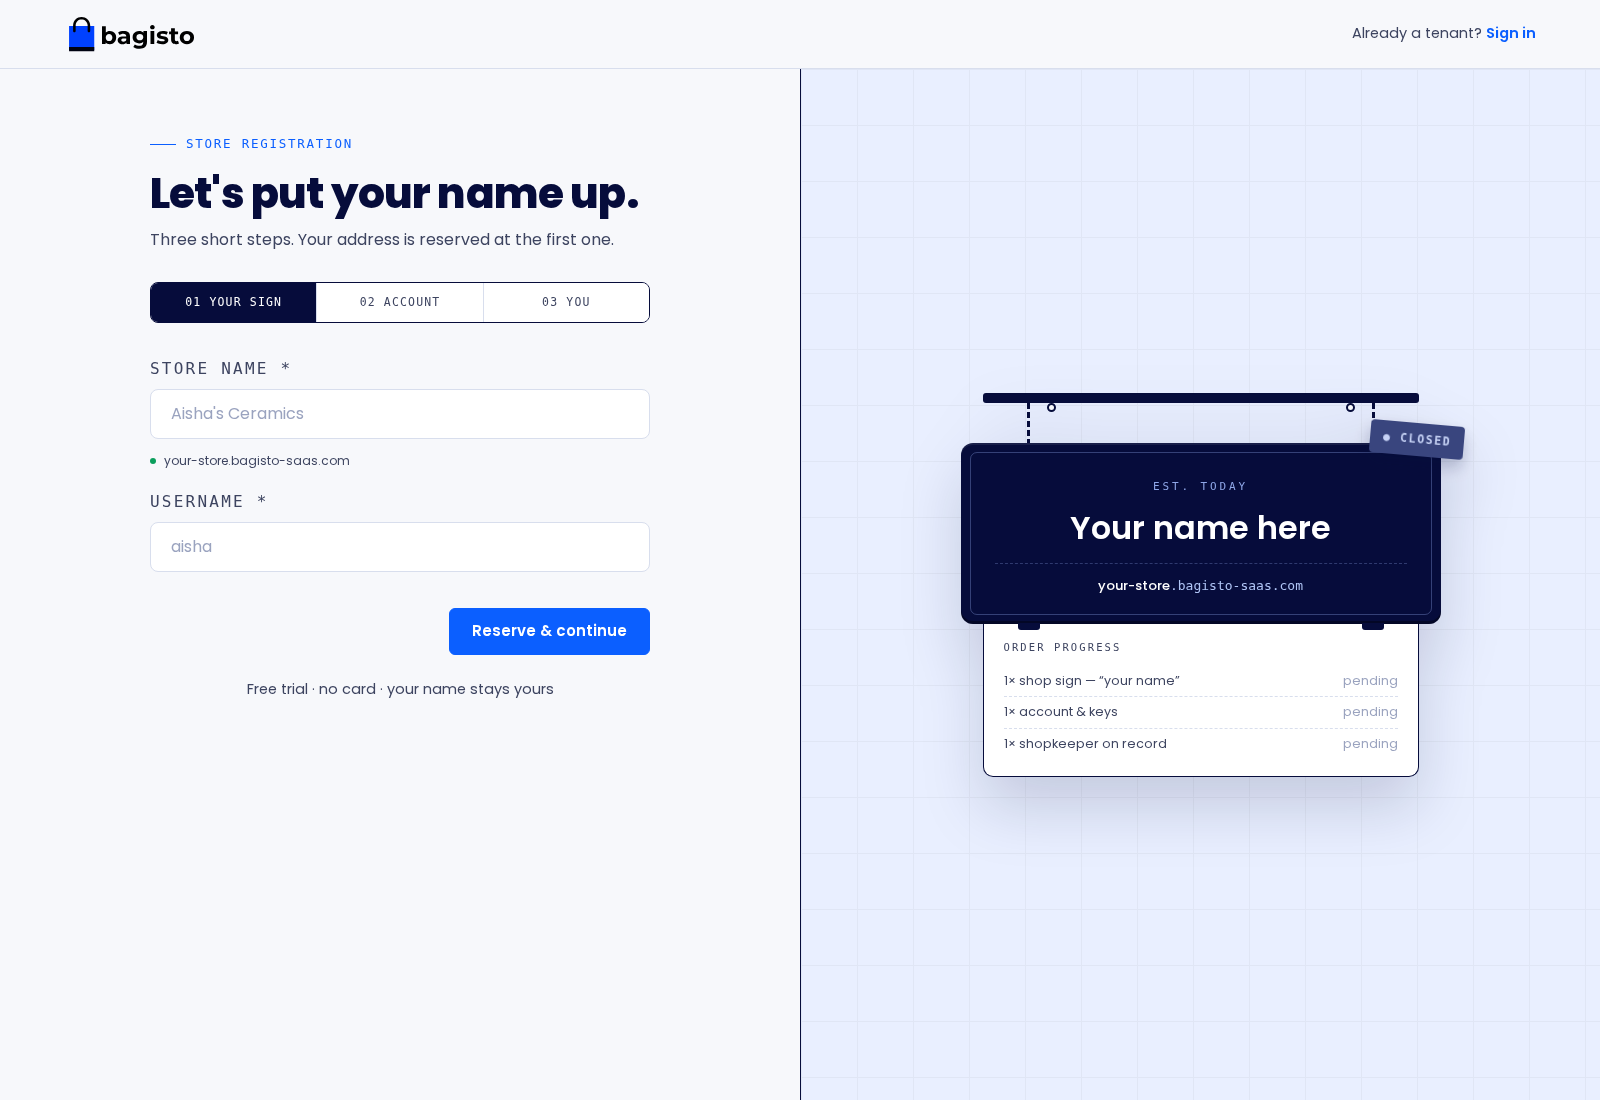
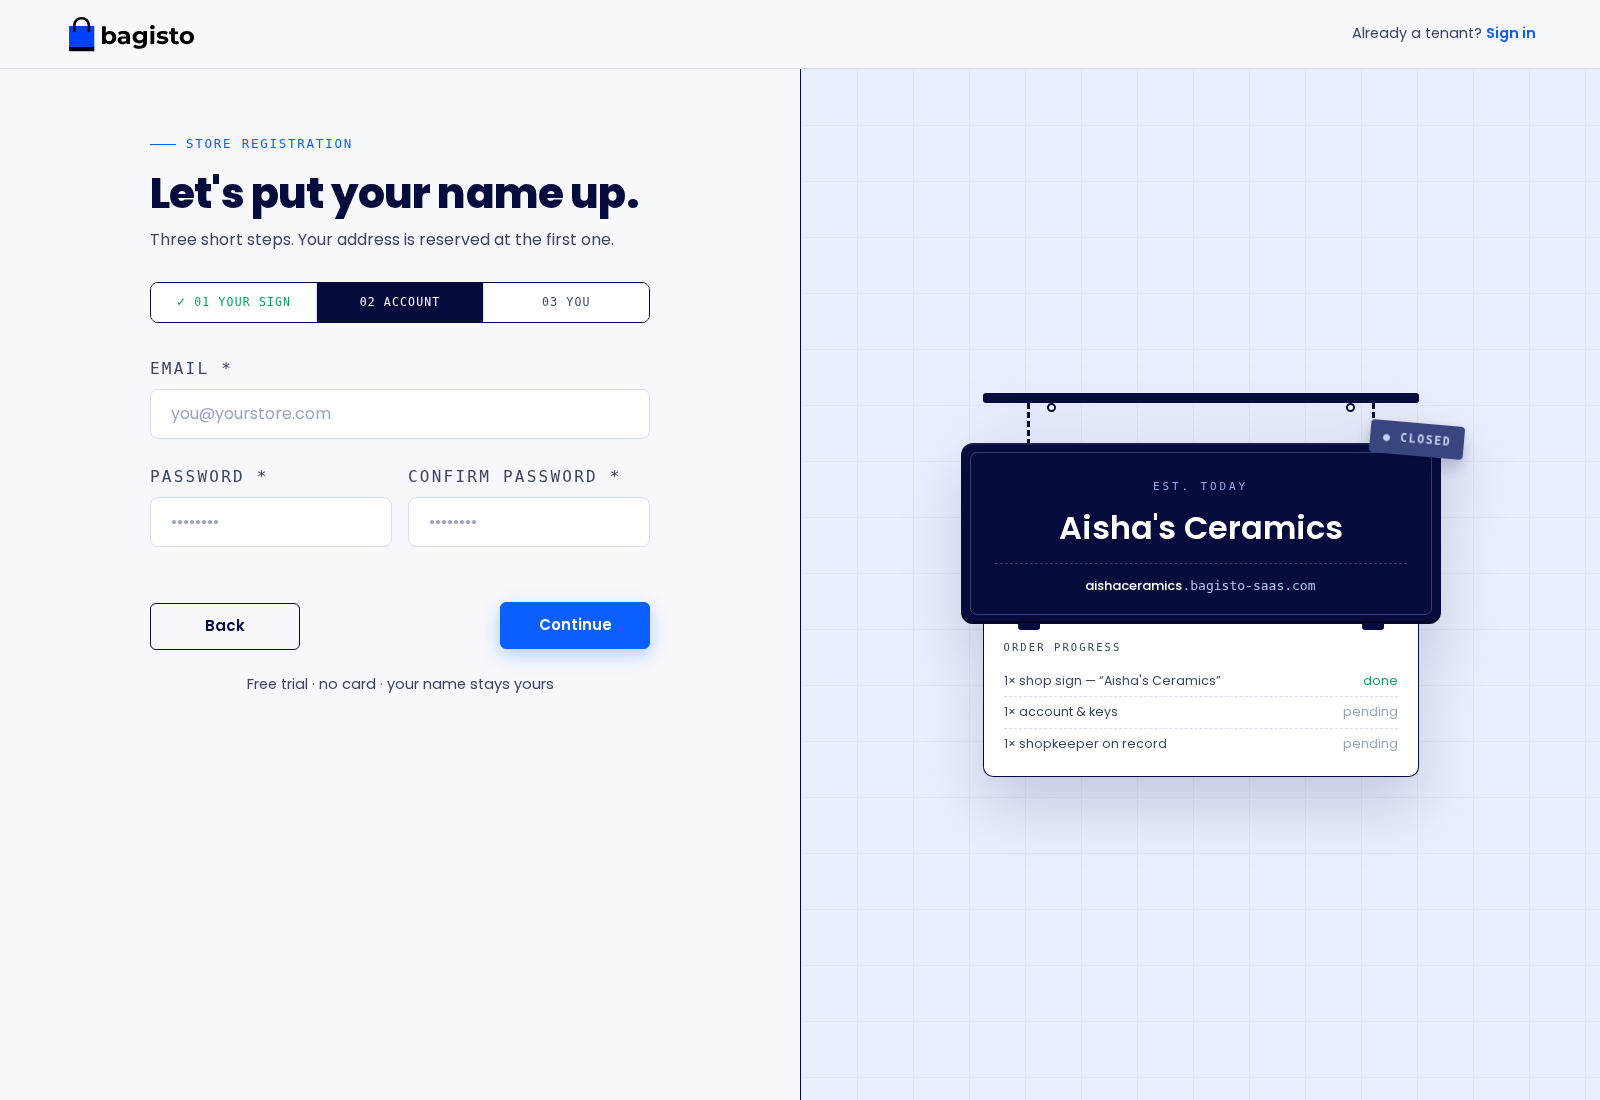
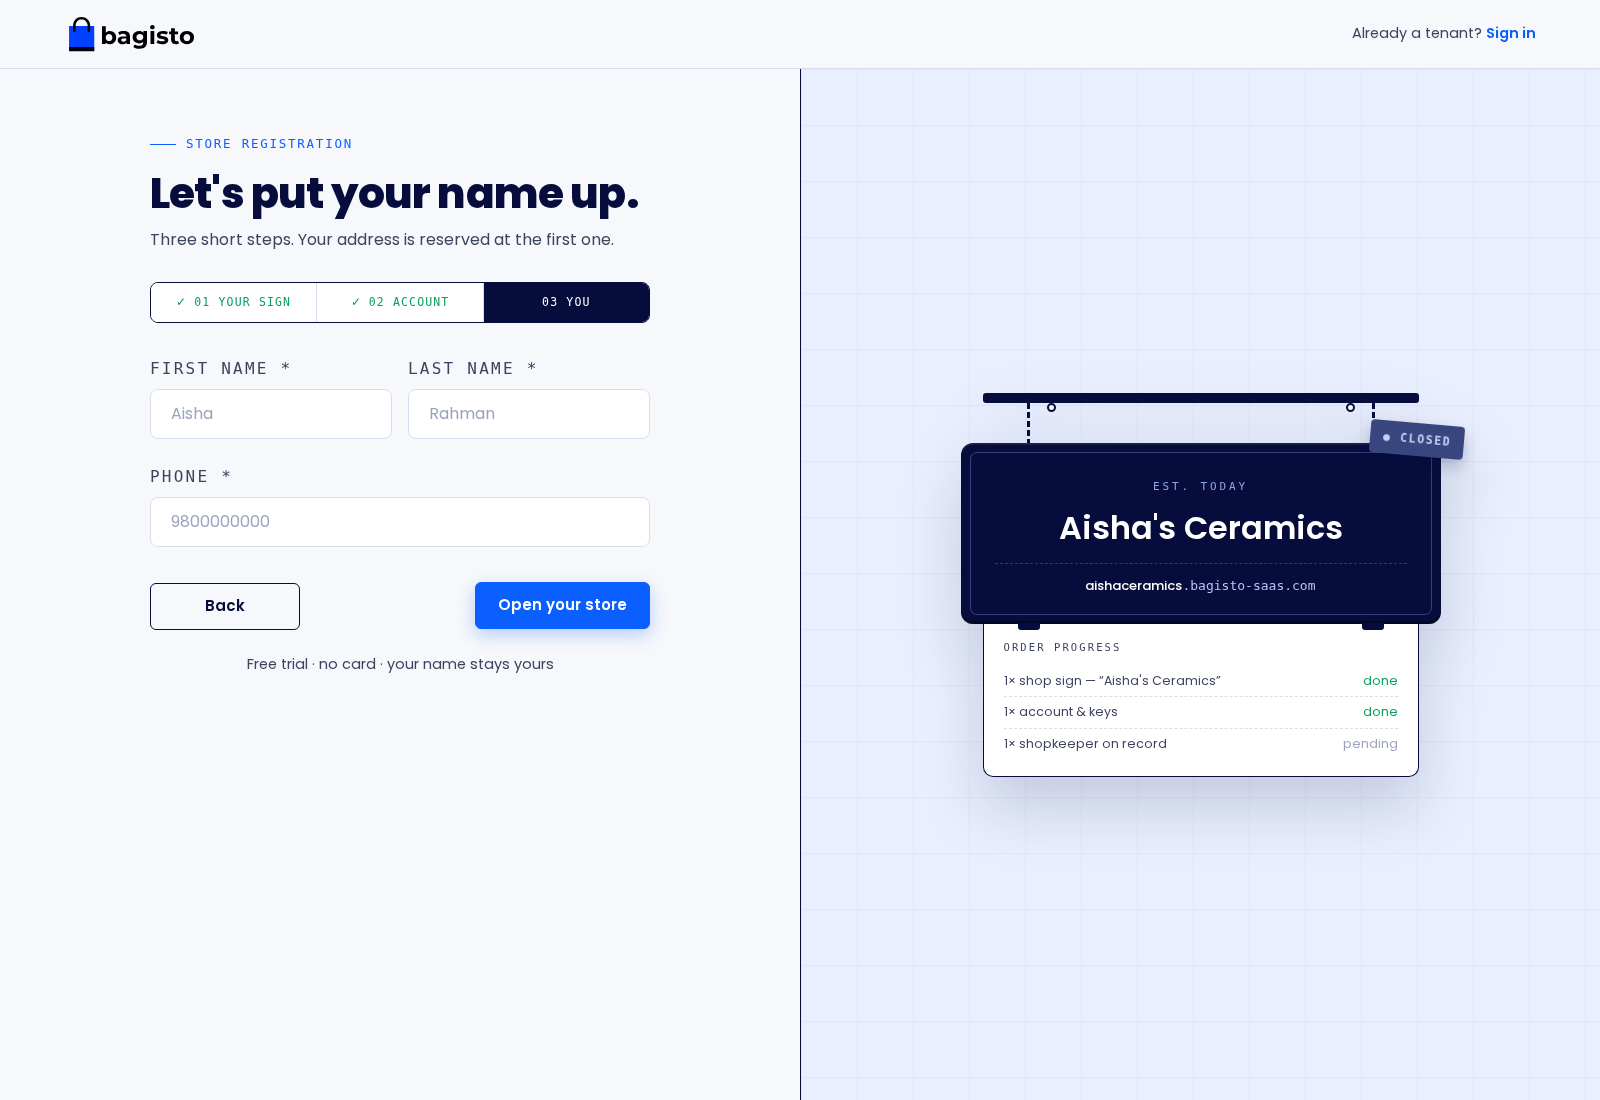
Open the platform address and go to the registration page. Registration runs in three steps, shown as 01 Your Sign, 02 Account, and 03 You. The store's address is reserved at the first step.
Step 1 — Your Sign. Enter the Store name and a Username. As you type the username, the subdomain your store will live at is previewed below it. Select Reserve & continue.
Step 2 — Account. Enter the Email, Password, and Confirm password the store will sign in with. Select Continue.
Step 3 — You. Enter the owner's First name, Last name, and Phone. Select Open your store to finish.
The store is set up for you
Once registration finishes, the storefront and admin panel are created automatically. There is nothing to install — the tenant can sign in and begin adding products right away. See Store & Admin Panel.
Signing in
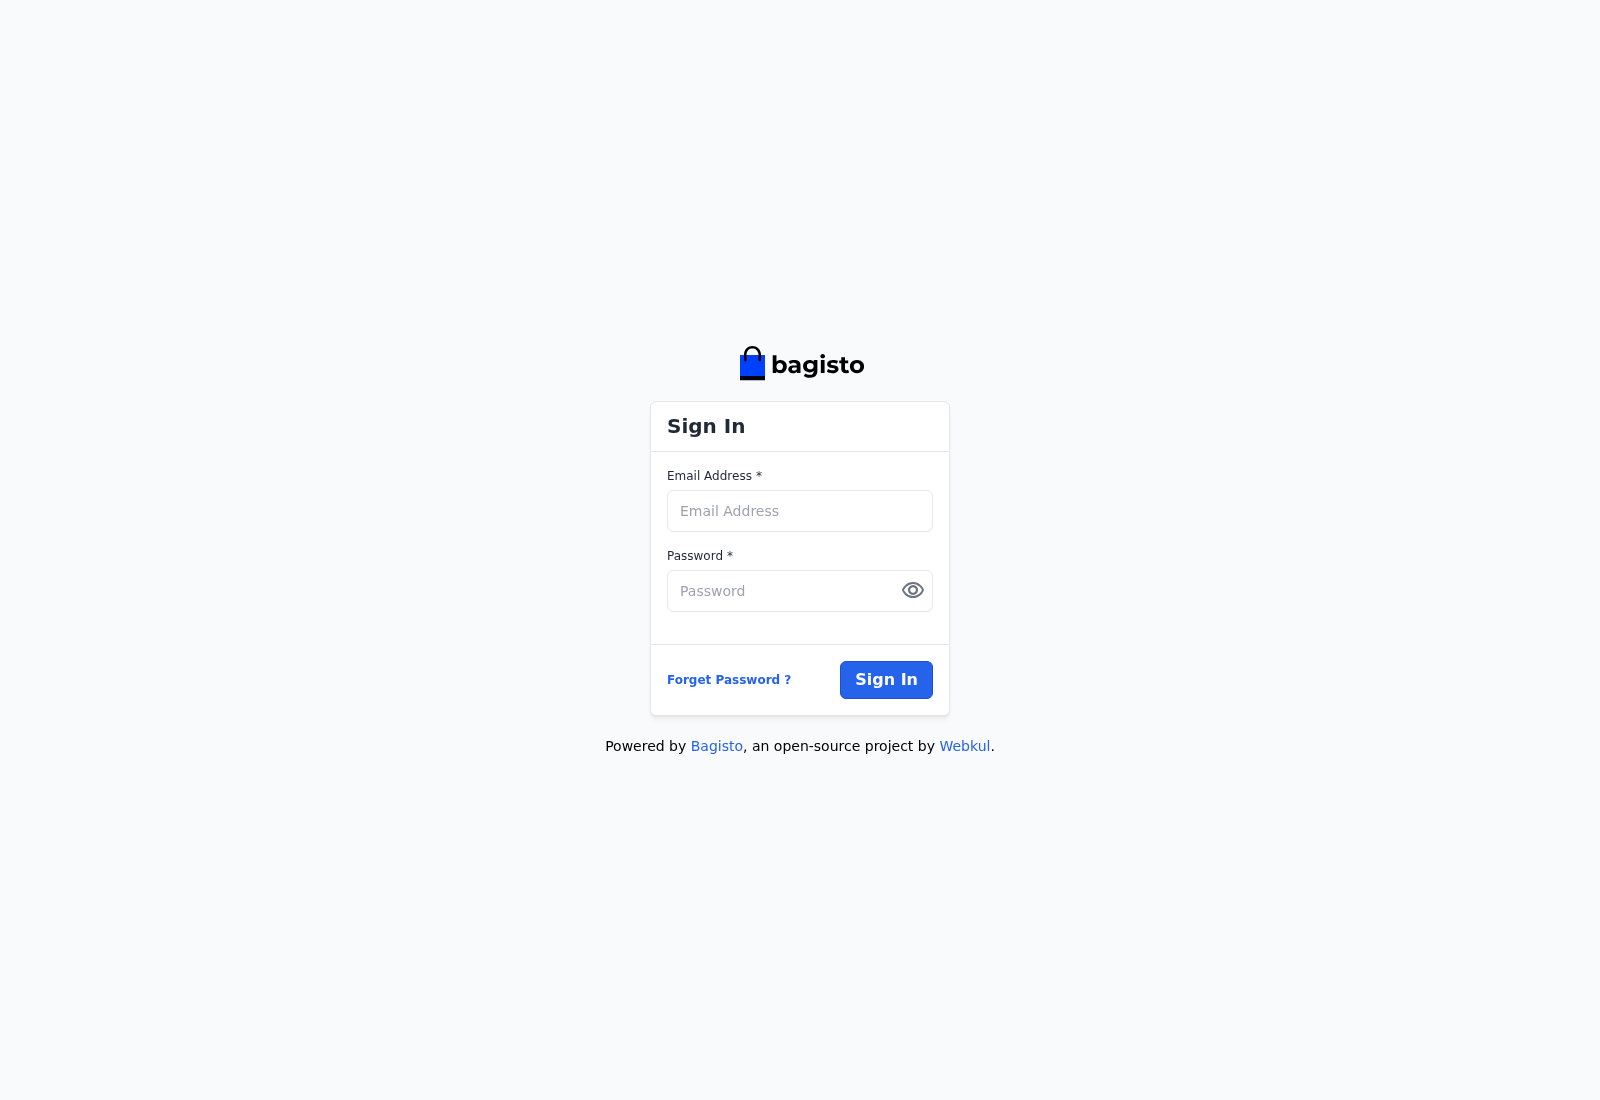
A returning merchant goes to the Sign in page and enters their Email. The platform looks up their store and redirects them to sign in at their own store's address.
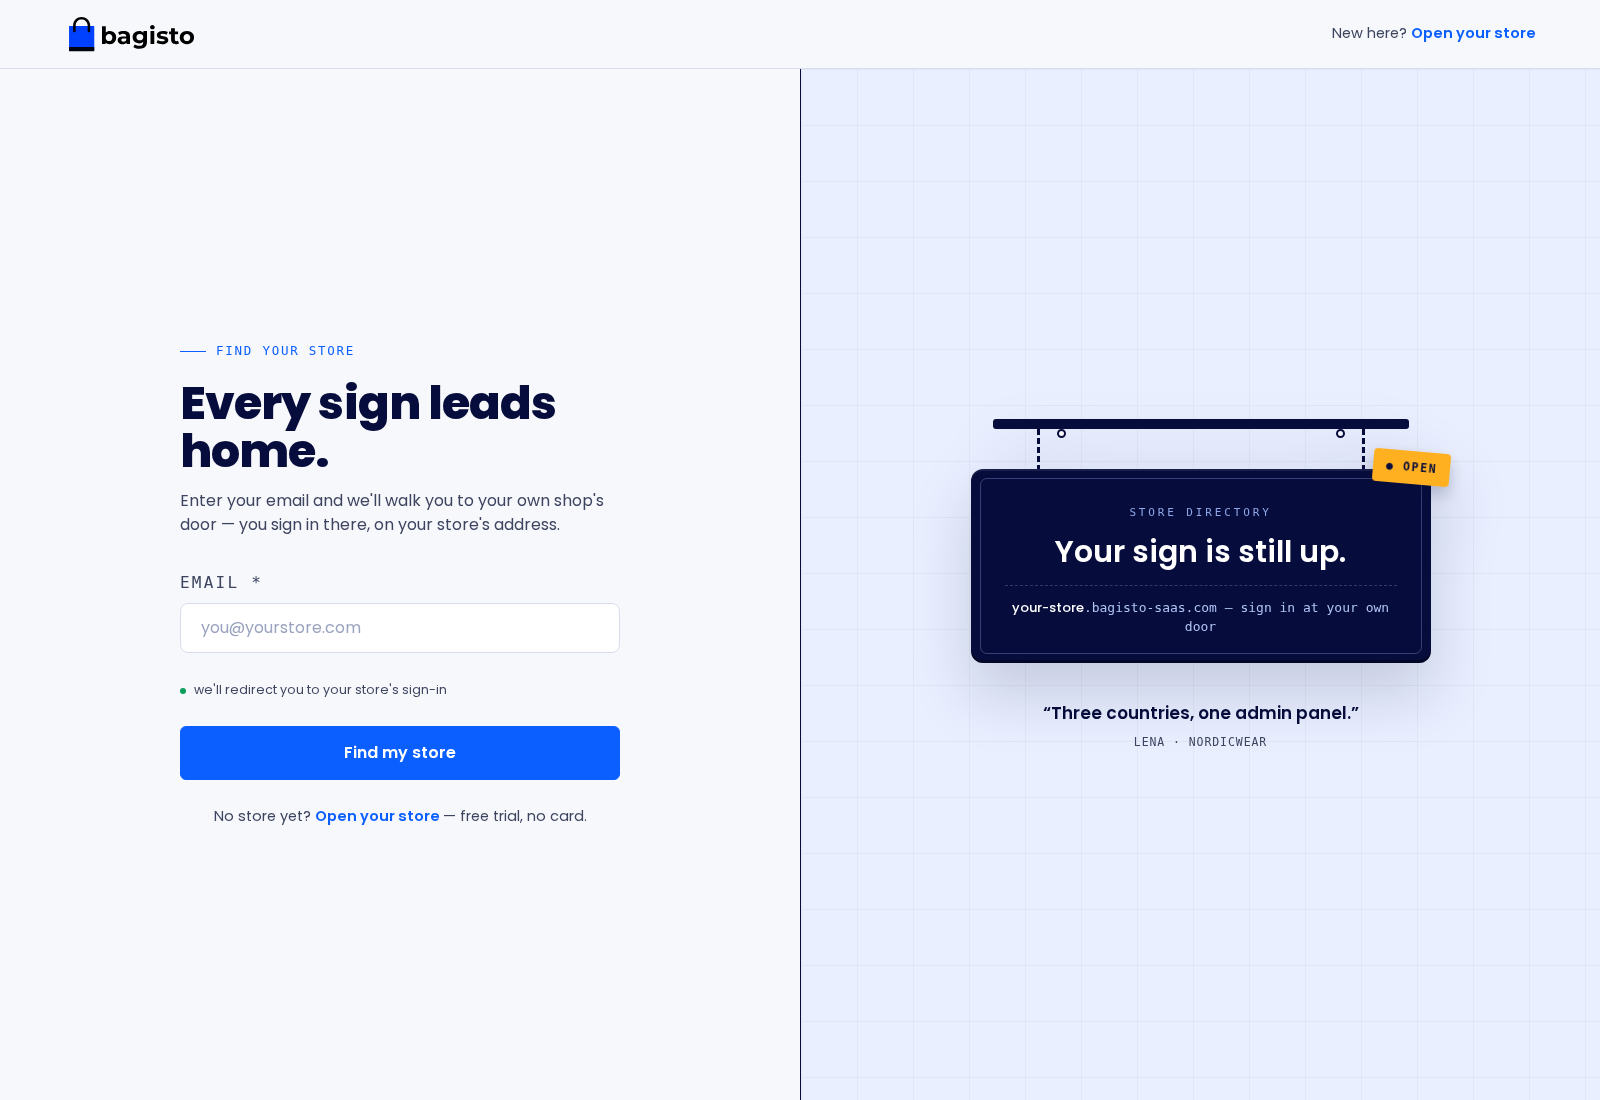
They can also go straight to their store's admin login at their-domain/admin/login.
TIP
Each store signs in at its own address, not a shared one. If a merchant isn't sure of theirs, the Sign in page finds it from their email and sends them to the right door.