
Tenant Management
Tenants are the merchants running stores on your platform. This page covers everything you do to a tenant from the Super Admin panel — register, inspect, edit, sign in as, and remove.
What you'll learn
- How to view and register tenants
- How to read a tenant's insights
- How to edit, impersonate, or delete a tenant
Viewing tenants
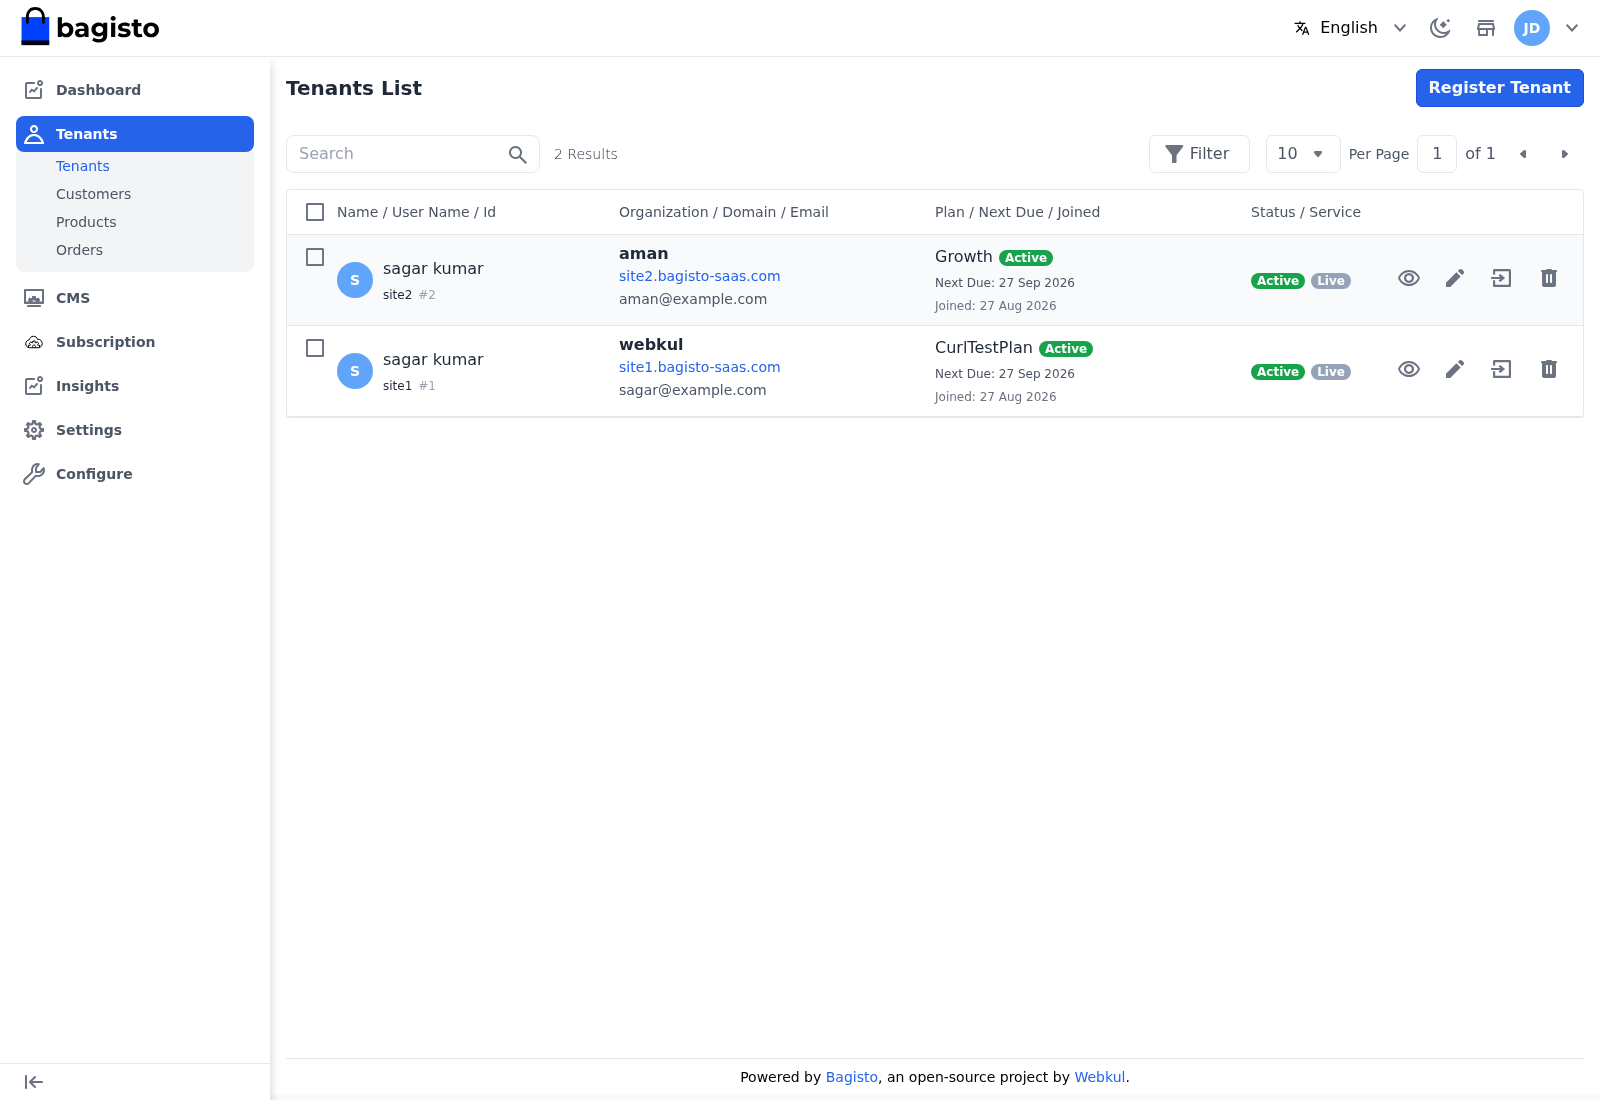
Go to Tenants → Tenants to see every tenant on the platform. You can search, filter, and paginate the list to find a store quickly.
Registering a tenant
Click Register Tenant (or Create) in the top right and fill in the form.
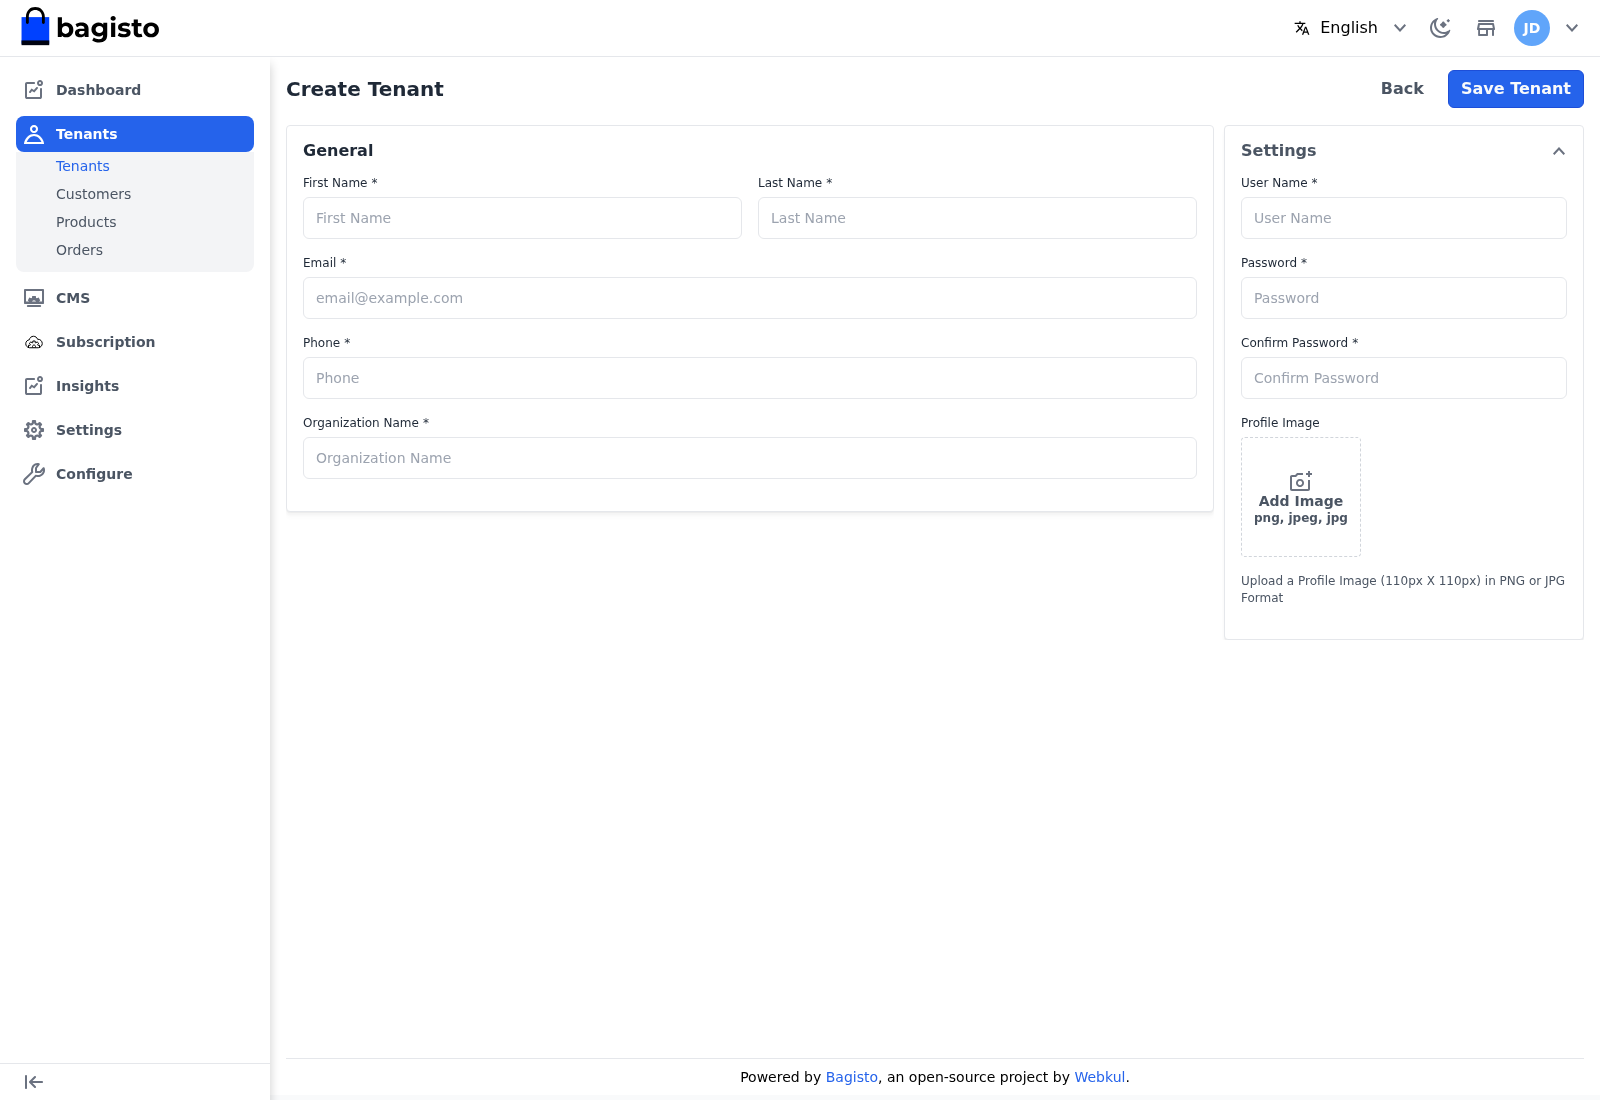
- First Name / Last Name — the owner's name.
- Email — the address the tenant signs in with.
- Phone — a contact number.
- Organization Name — the store's business name.
- User Name — used to build the tenant's default subdomain.
- Password / Confirm Password — the tenant's sign-in password.
- Profile Image — optional, in PNG or JPG at 110 × 110.
Select Save Tenant. The storefront and admin panel are provisioned automatically.
Tenant insights
Click the View (eye) icon on a tenant row to open a read-only summary of that store — its subscription plan, domain information, counts of attributes, products, categories, and customers, and its address list.
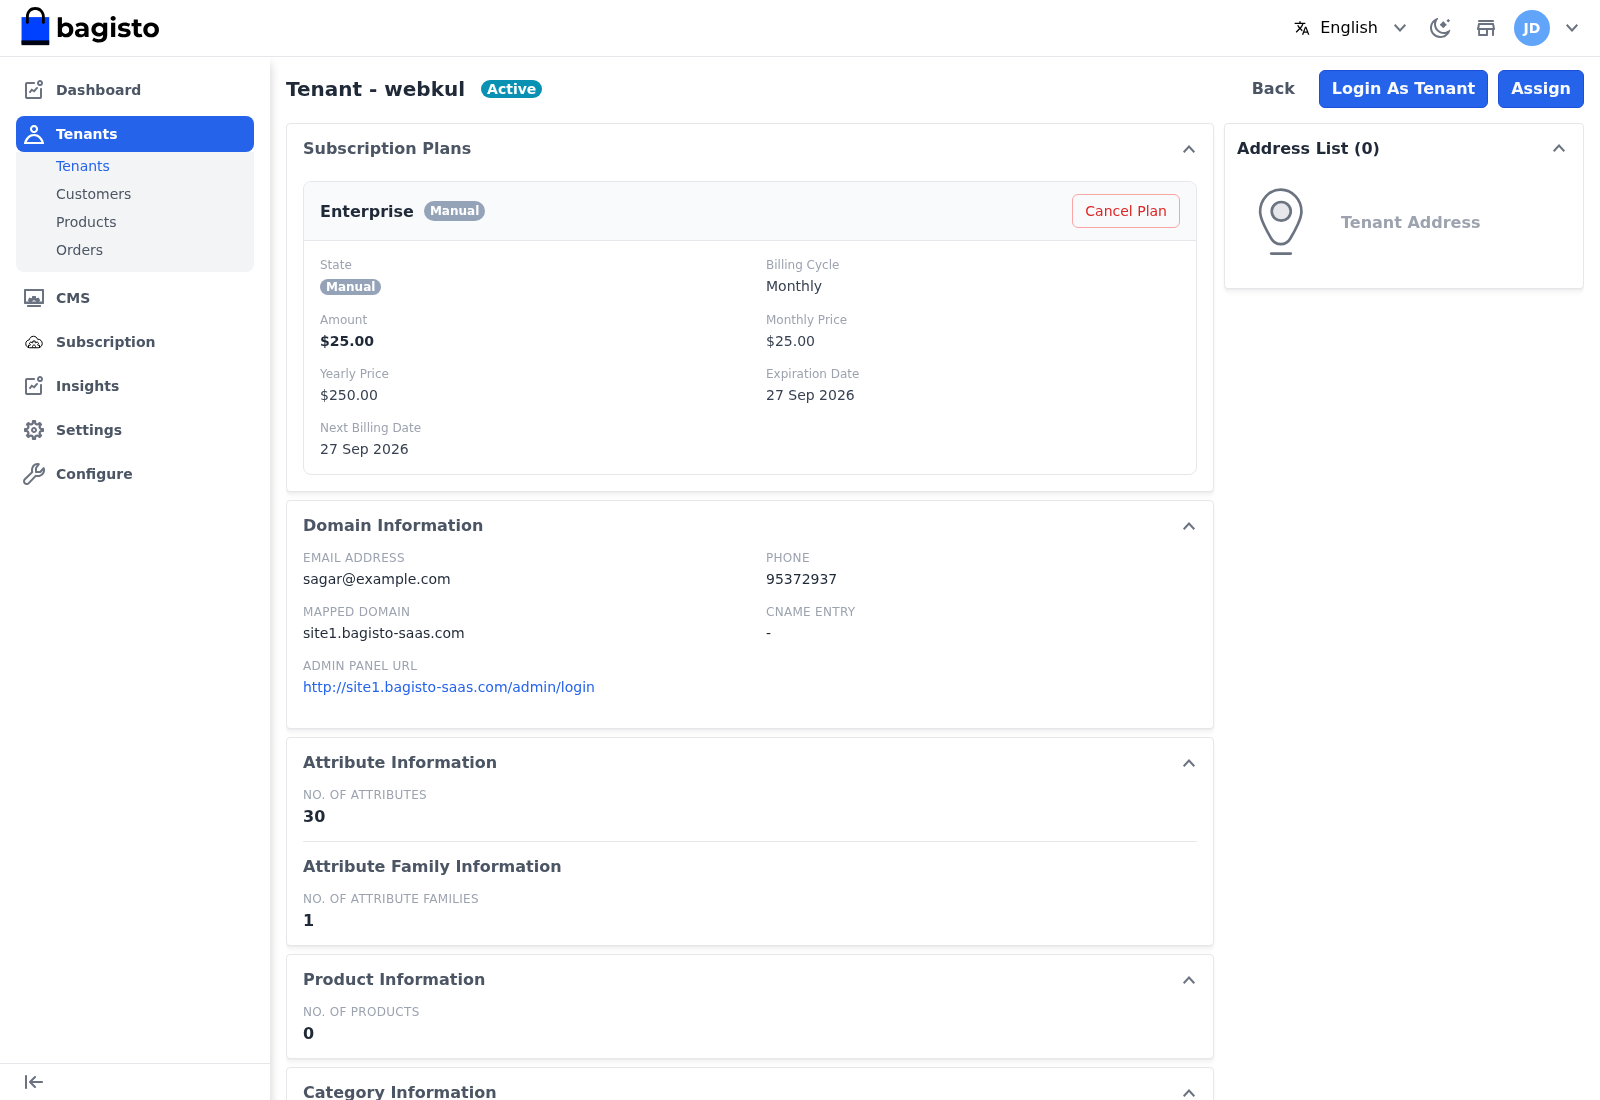
From this screen you can also Assign a plan, Cancel Plan, or Login As Tenant.
Signing in as a tenant
Login As Tenant opens that merchant's admin panel as them — useful for support, because you see exactly what the merchant sees.
Editing a tenant
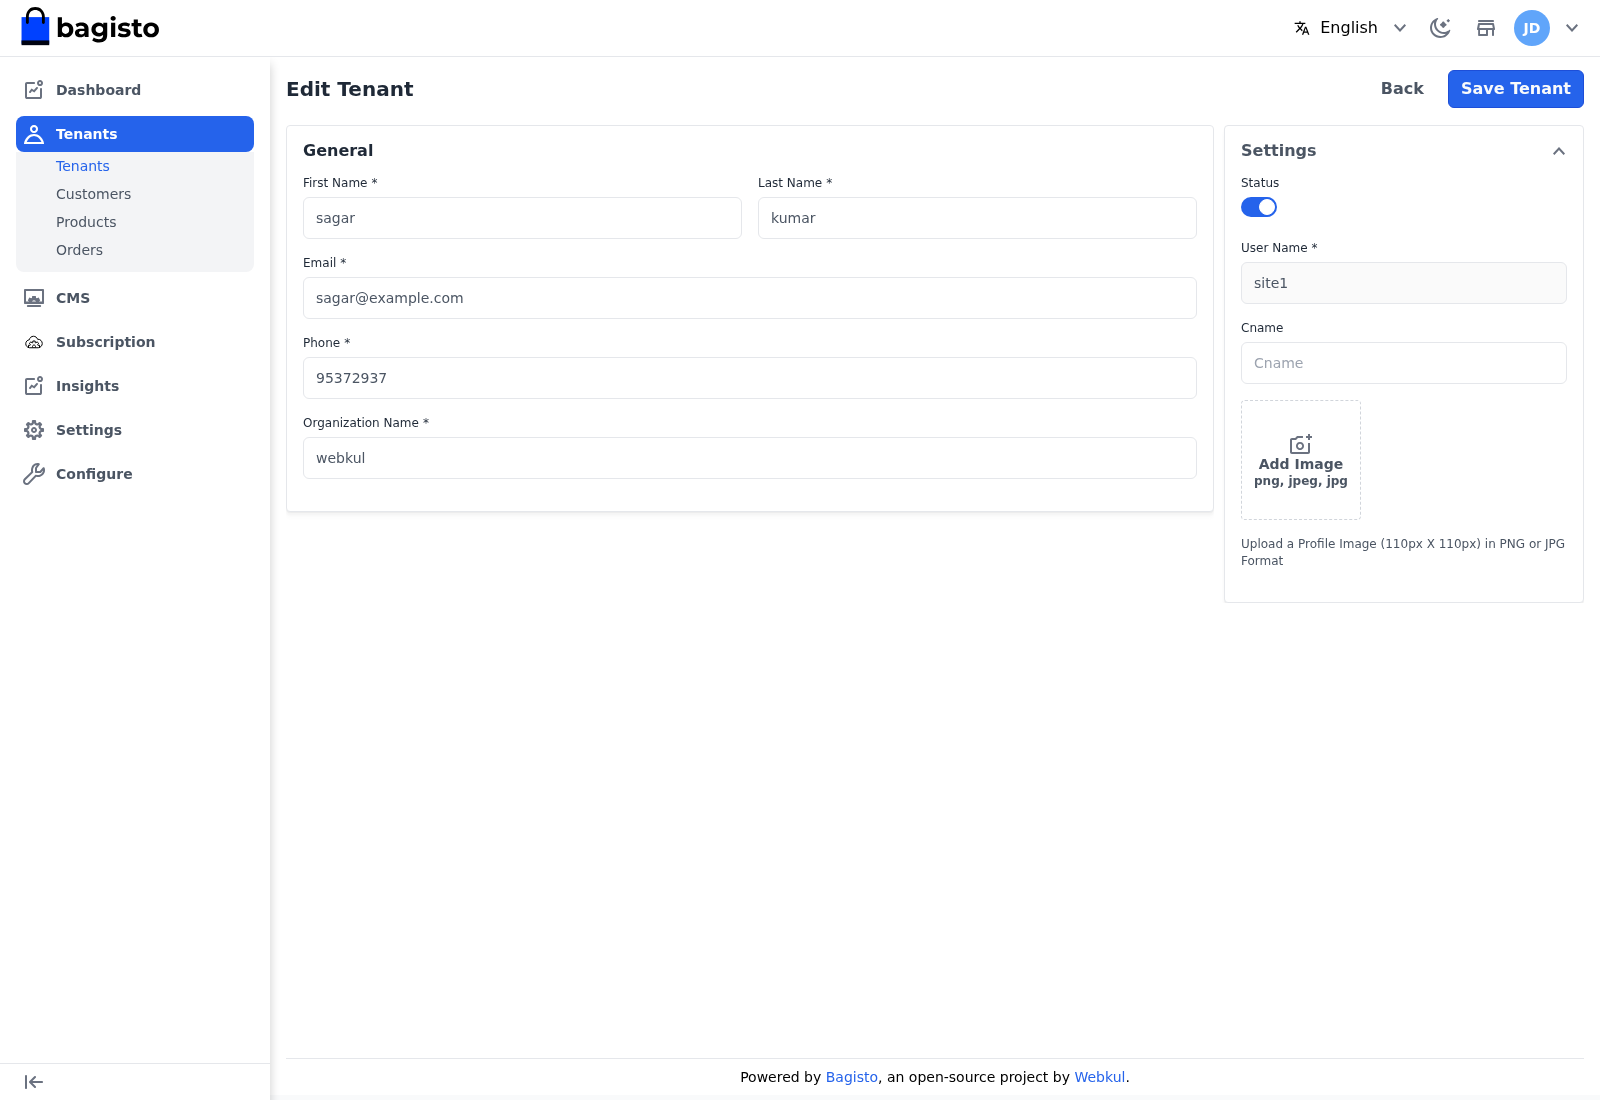
Click the Edit (pencil) icon to change a tenant's details — name, contact, organization, status, profile image, and the Cname used for custom domain mapping.
Deleting a tenant
To remove a tenant, use the Delete icon on the row and confirm.
WARNING
Deleting a tenant removes the store and its data, and it cannot be undone. Confirm you have the right tenant before you delete.
TIP
You can only edit and delete the tenant record itself here. A tenant's own customers, products, and orders are shown read-only under Tenant Data — only the merchant manages those.